1.1 Cone Weaving Investigations
Our fifth, and final studio trails, were held at Ruthin Craft Centre and quickly followed four days of trials at Kew Gardens. The focus for Ruthin was Pattern & Colour. In preparation for the trials we had all been thinking about our own contributions. Stephanie had spent some time working with colourful plaited patterns templates from The Art of Paper Weaving, (Schepper and Schepper), which had prompted questions about the weaving of a plaited cone in two colours, curved surfaces, and manipulation of the strips. In particular Stephanie had posed a question to the group about how a woven cone might be designed with various heights and slopes.This became our starting point for the first morning.
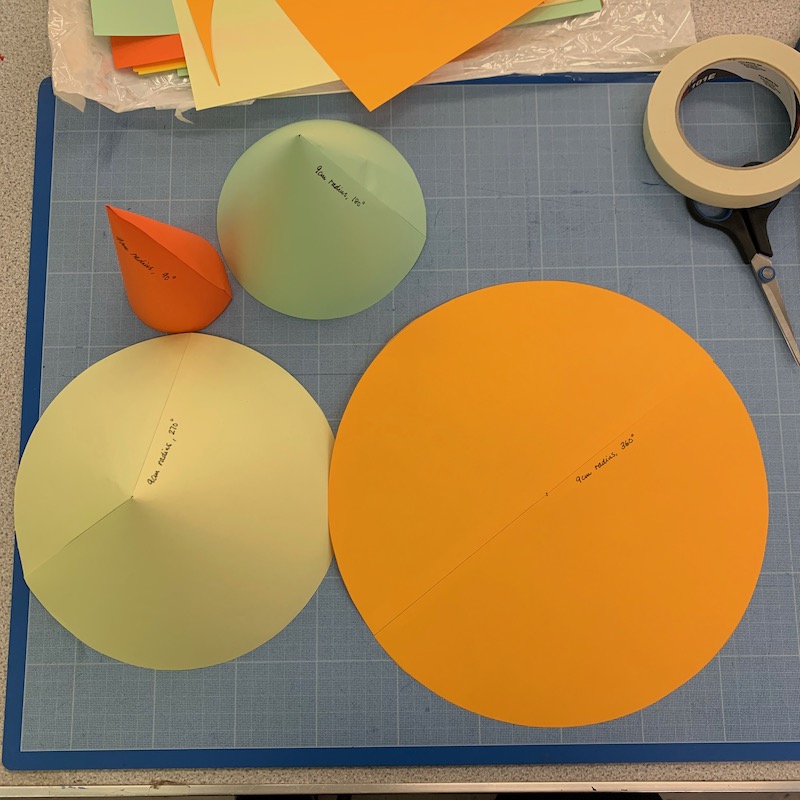
I did not want to work from a template, but was interested to investigate how the template had been designed. Before thinking about the weaving of the cones, I decided to construct a ‘cone family’.
1. 2D circle with 360° at centre
2. cone made with 270° at centre
3. cone made with 180° at centre
4. cone made with 90° at centre
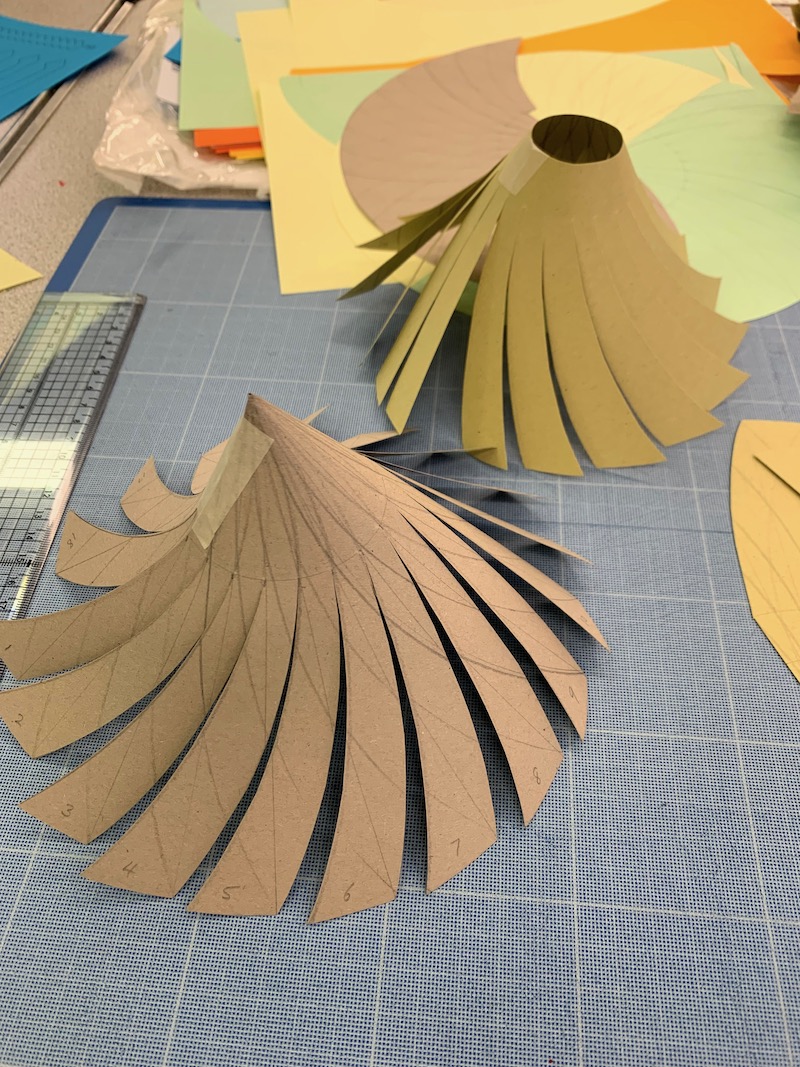
So what is a woven plaited cone? Working with two separate templates, (two colours would work well), the templates have curved strands cut from the circumference of the cone, to close to the point. Both templates have an equal number of strands.The curved strands spiral out from an uncut pointed section to the circumference increasing in thickness as they move further away from the point. The spirals are opposing, clockwise on one and anticlockwise on the other. Prior to weaving the templates are fixed at the point, joined with a small tab and together curled up so that a small cone is formed. The strands are plaited to create a firm and woven surface.
Initially we looked at a plain check weave plait, but this could be developed into a more complex weave.
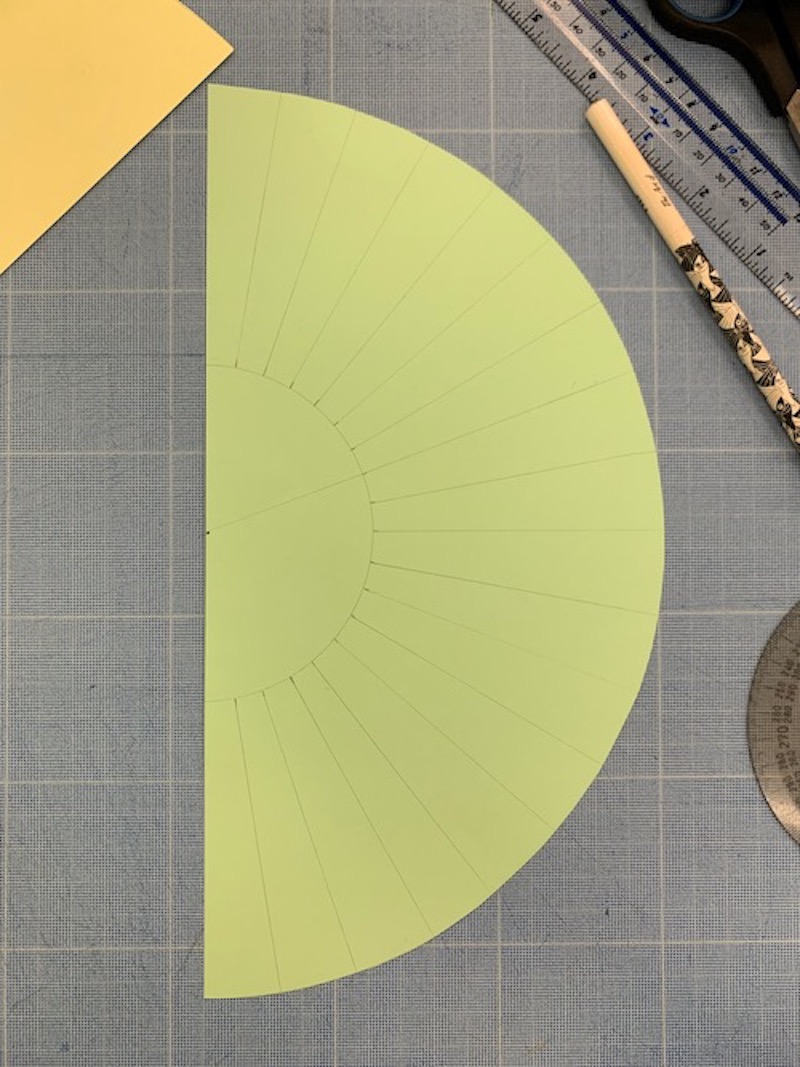
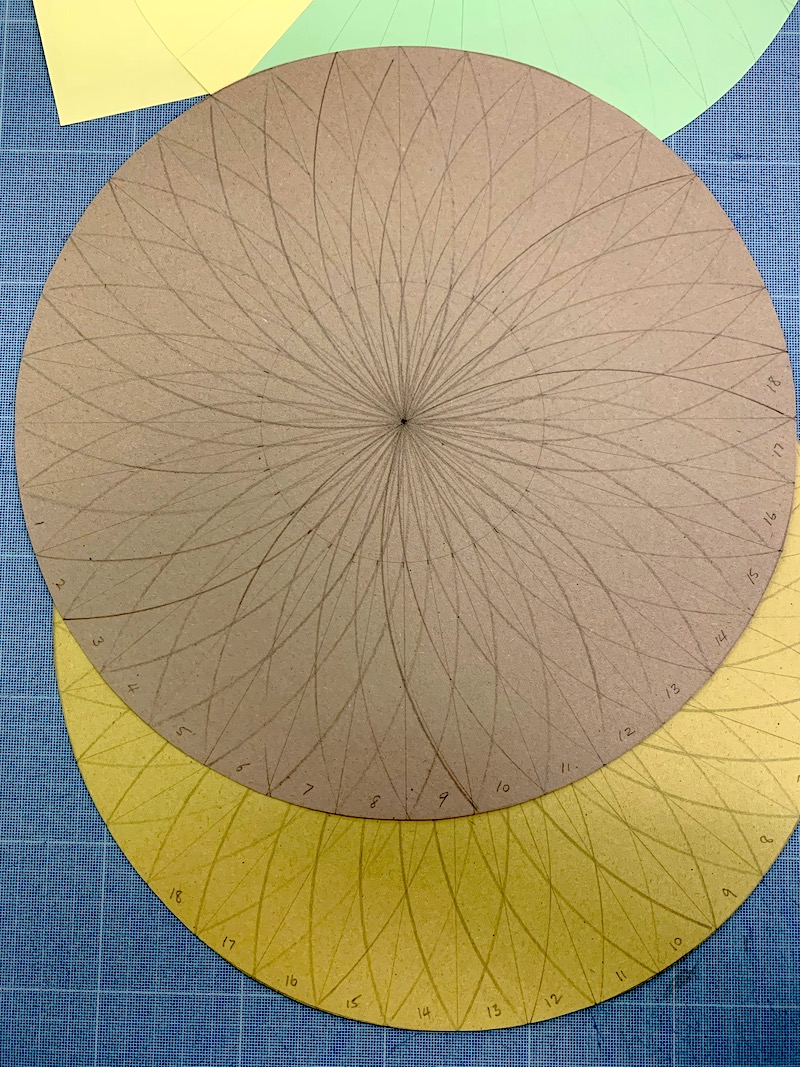
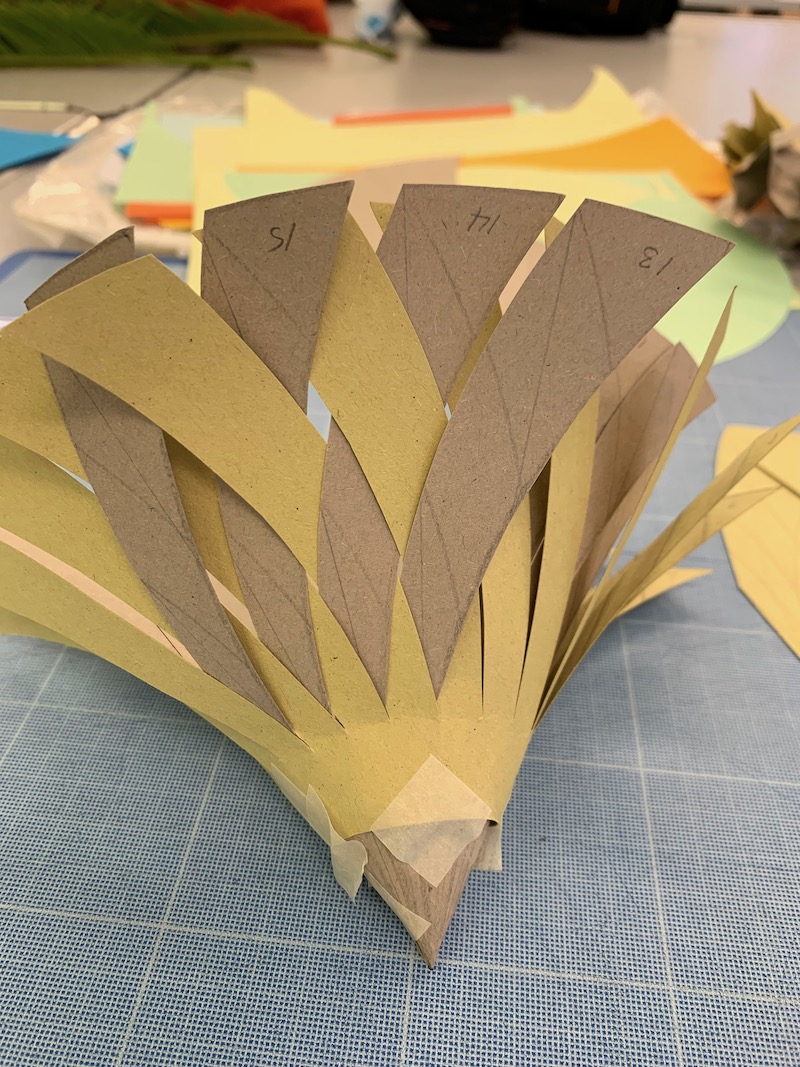
The woven cone Stephanie had made before the trials looked like it might be a 90°. So, in order to tackle the question of how to make a different cone I chose to work on a 180°. Not really knowing what to do, I just decided to ‘do something’, so I started by drawing a semi-circle on a sheet of coloured copier paper. I then sectioned the semi-circle into 20° sectors, but this made the distance on the circumference too long, so changed it to 10°. Each of the strips from the Weaving with Paper cone, are curved. The weaving is with two separate sheets and the curves are opposing. But the big question was really what is the curve, and how do I draw it?
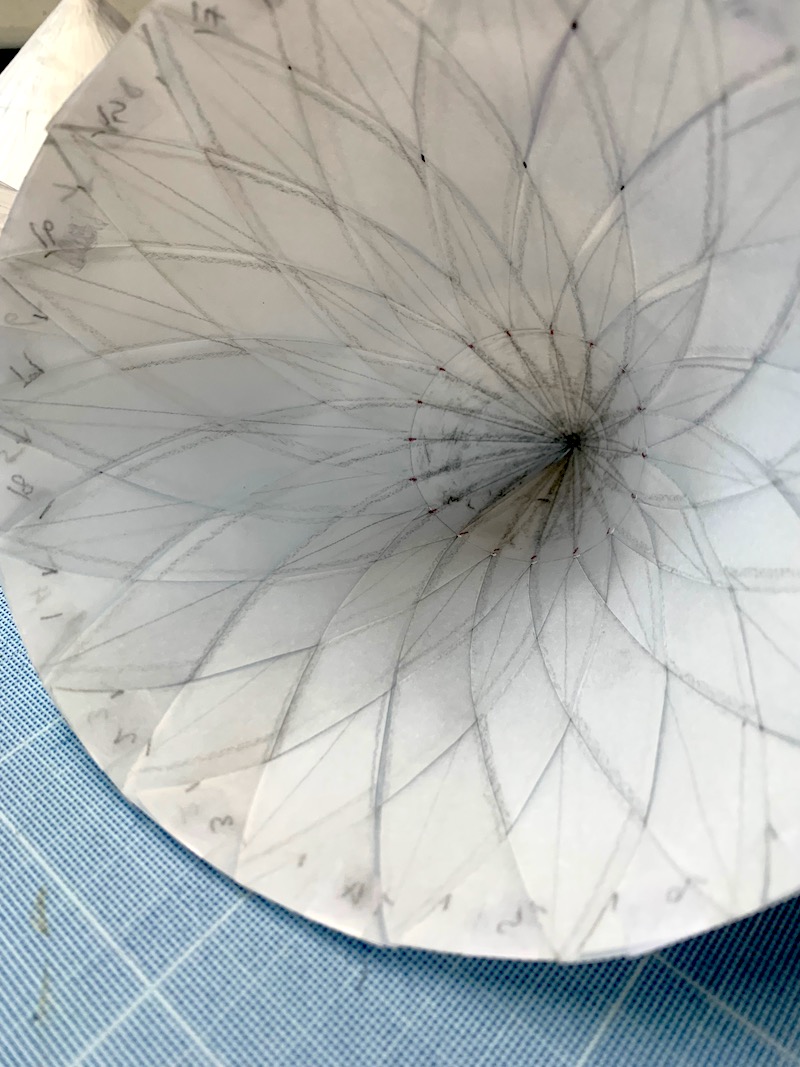
I really had no idea, but my compass was already set for drawing a semi-circle, so I thought I’d start with that and see what I could do with it. By fiddling around, I found that if I put the point of the compass on a ‘10° point’ on the circumference, I could scribe a curve that passed from one point on the circumference, through the centre, and finished at another point on the circumference.
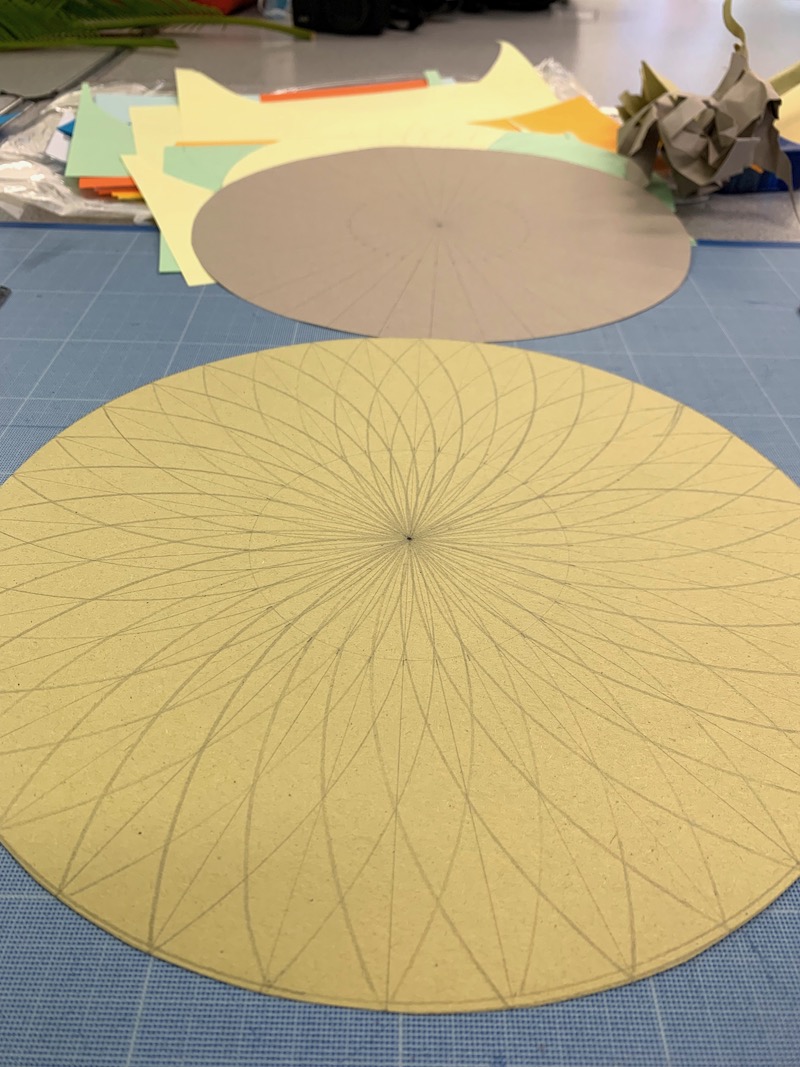
I continued scribing curves, but soon discovered that the curves went off the edge of the semi-circle. I also discovered that the curves overlapped as they progressed around the circle and created a rather wonderful petal design. Reminiscent of drawing with a spirograph as a child.
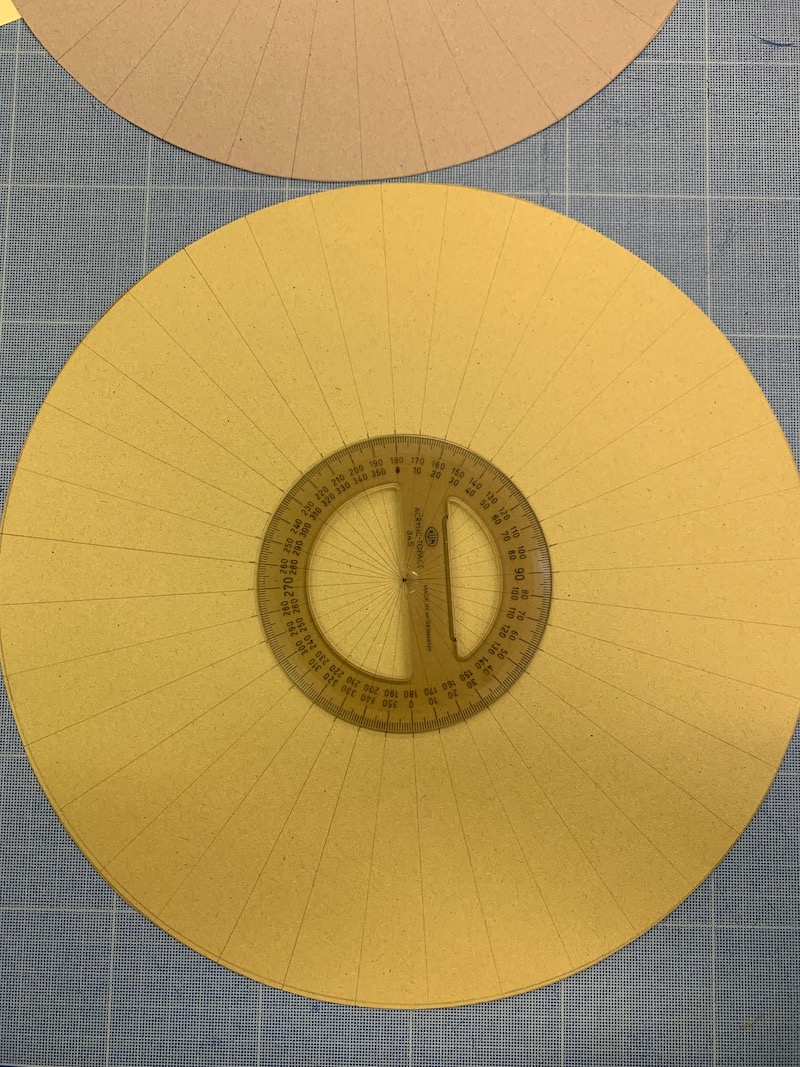
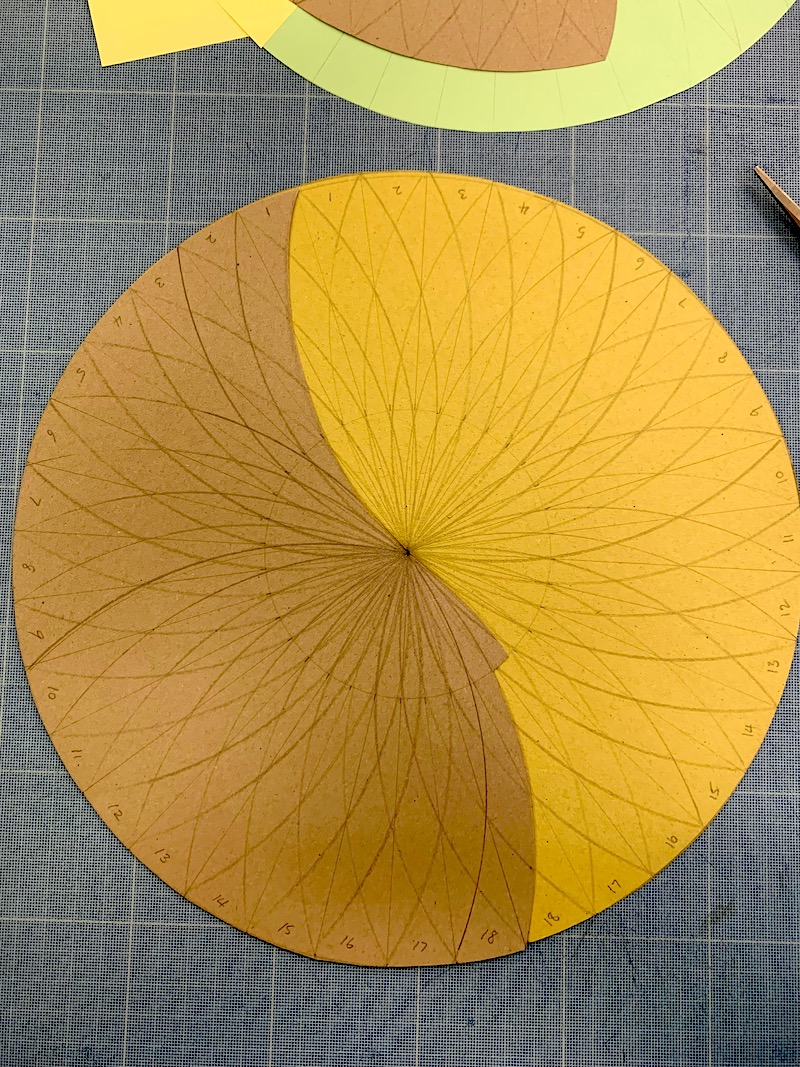
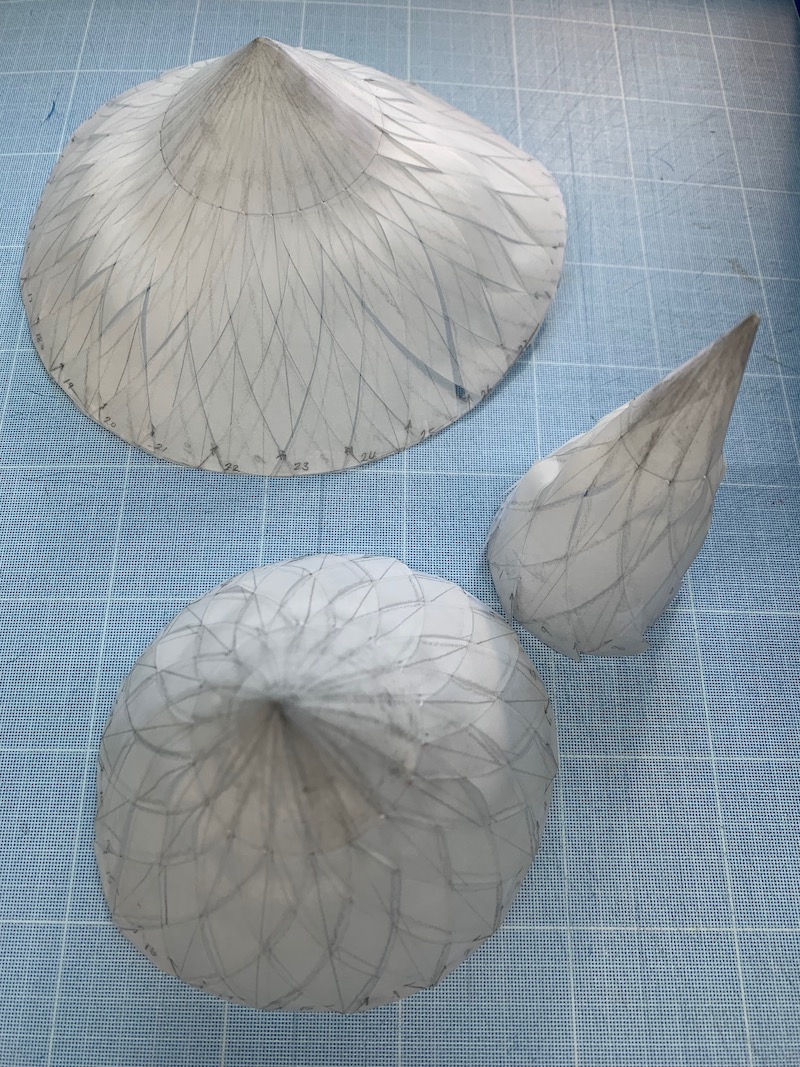
So, I needed to start again, but with a full circle. I had to change paper to a sugar paper, in order to fit a full circle on. Not my favourite paper, very stiff and a horrible surface. I drew it all out again and cut it out – carefully cutting the curves. Unfortunately, I cut one set of curves the wrong way, so had to turn that sheet over. Putting the two layers together I realised the need to be accurate and that the layers needed to be placed with the upper cut end of the strips directly above each other so that the weaving would be tight near the pointed top section.
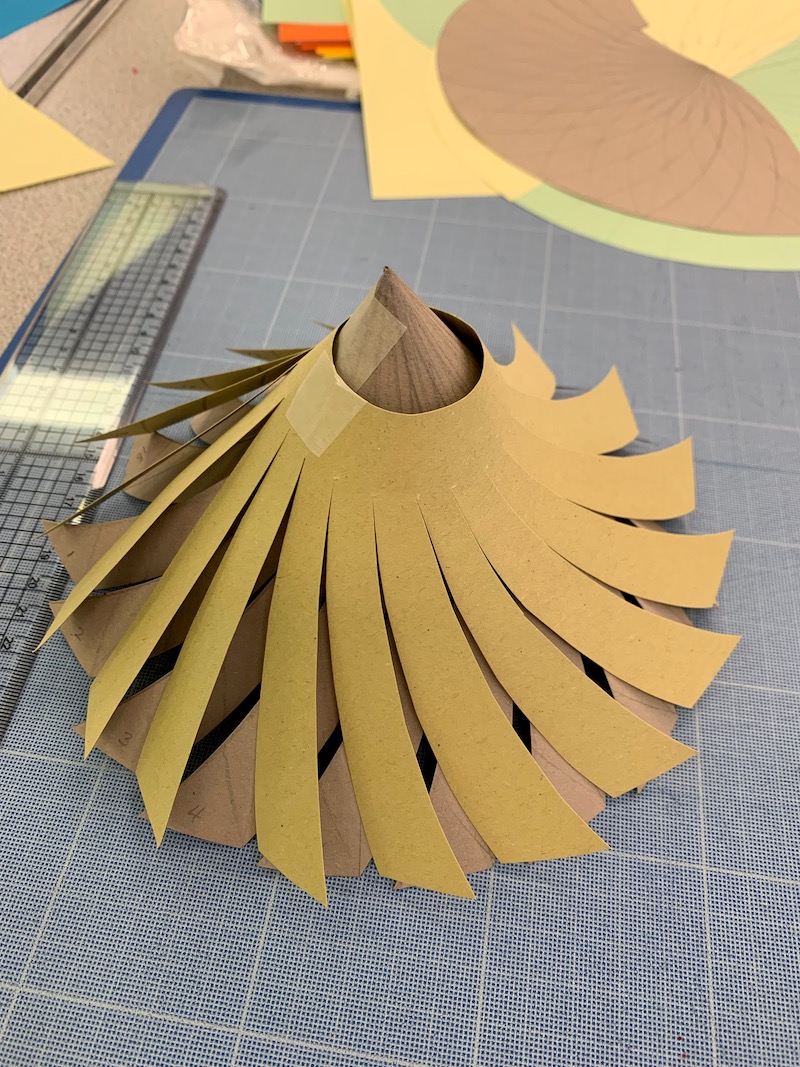
Weaving was very satisfying, and the surface of the sugar paper, was certainly good for grip, so it stayed more or less where I had woven it
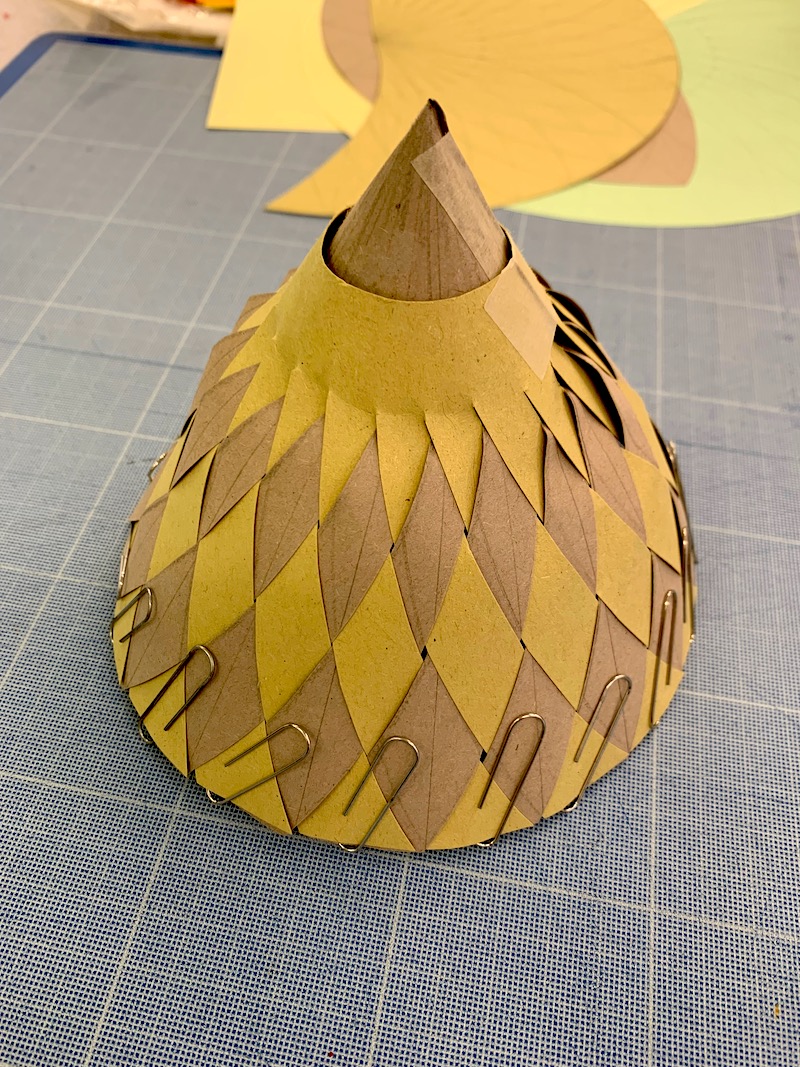
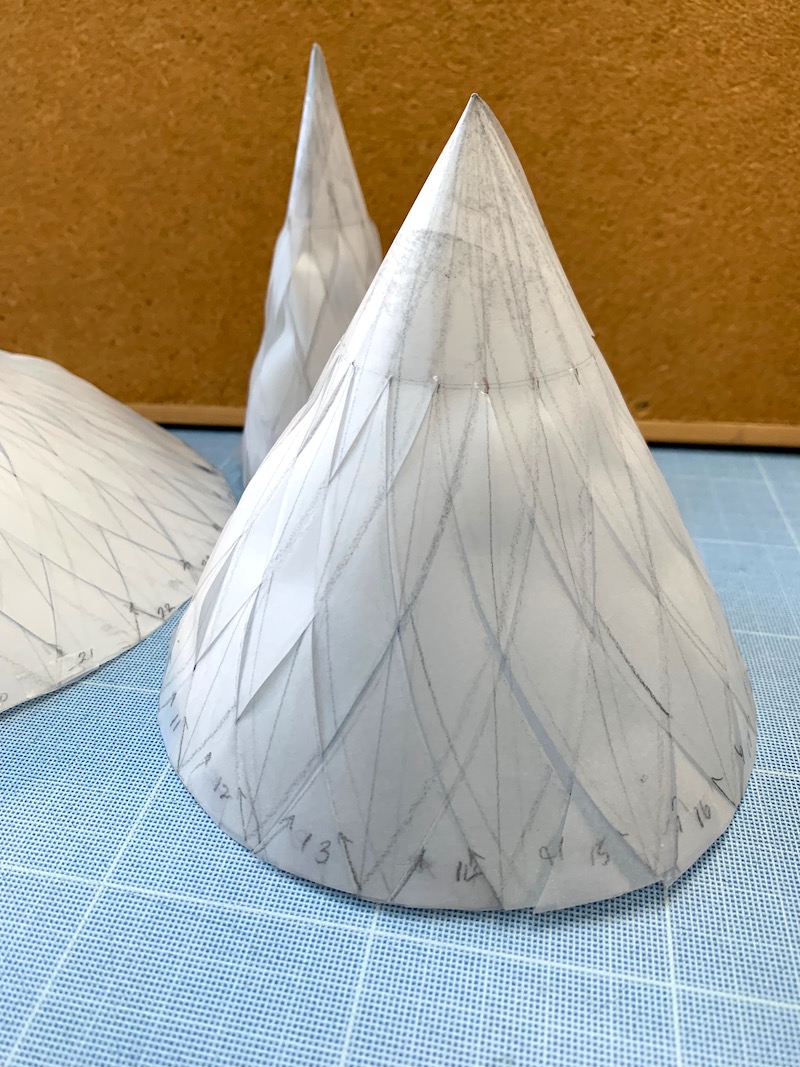
Following on from this first attempt I decided to have another go, but with tracing paper so that I could see the drawn lines clearly through the two layers. Tracing paper is also quite fine in quality, so whilst it offered some positive advantages, it also brought the difficulties of being slippery and crisp. It was much easier to put the two layers together and with the aid of some paper clips the cone took shape. What I really liked about this version, was the translucent quality of the paper. It would be really great to try with the cotton organdie I have, making the lines a feature.
A really satisfying morning, coming to a great conclusion. Still much to explore, in terms of playing around with the dimensions of the cone.
This post was part of my contribution to the Forces in Translation project it has been shared on this website with the kind permission of the project team.